Showing posts with label Photographic theory and practice. Show all posts

Thursday, 11 February 2016

Light meter and metering modes


Ansel Adams was born in 1902 in america he is very well known for his black and white landscape photography. The zone system divides the tones from white to black and all the grays in between  into 11 zones, neutral grey being the middle zone. The camera is designed to give correct readings under circumstances This means that a camera would look at the the scene and try to render it is as average reflectance 18%  which is middle grey, however when a scene has too much brightness in it the camera tries to render it as average so it causes a under-exposures, When a scene contains to much darkness the camera tries to render it as average causing an over-exposure,


Indecent light meter


 An incident light meter is an hand held light meter that measure the light around the subject to create the perfect exposure by telling you what camera settings are needed after taking the reading from the light around you, This is a very accurate way of measuring light. Thiis mainly used where you have controlled lighting such as studio lighting while doing product photography, fashion photography and still life.


Reflective light meter is within your camera this is similar to the indecent light meter however this is done automatically when pointing your camera towards the light this tells you if you image is going to be over exposed or under exposed this has an average reading of 18% grey and it goes from this reading every time however there are different modes you can used within your camera when using this light meter.


Metering modes


Matrix


This is done by splitting the image up into zones and then takes an average reading, analyzing the shadows and highlights for each zone  then determines the exposure on that figure, Depending on the manufacture, matrix metering may average only a handful of zones or more than thousand of them other factors are all considered such as the point where you have focused the distant between the camera and the subject and also the colours in the scene.This metering system is good for when you're outside and need to take a shot quickly. This is the default metering setting for most photographers as this is known as the "set it and forget it" system as it is the best one to use if you are not very comfortable and confident using different kind of metering system.


Centered


Center metering gives the most importance to light usually 60 and 80 percent to the light that is concentrated in a circle area in the center of the frame, around this circle are given less importance though they are usually included in a small degree. Some cameras may allow you to adjust the size of the circle. This is usually known as the most consistent way of metering as most subjects are normally in the center of the frame and not off to the edges. This is really good to use for portraits as it will make sure the subject is correctly exposed. This is good to use for scenes when you feel you will need more control over where the camera measures its exposure.


Spot


when spot metering the light is in a much smaller part of the image usually in the center is measured and the exposure is set based on that reading this is usually a spot using up 1 to 5 percent of the total image In some cameras you may be able to change the metering spot of which you wish to expose from. This is very accurate as it gives you a reading from a very small part of the image. This is most useful for shooting high contrast scenes where your subject may be in shadow or washed out by bright highlights. This is good for shooting things from a distant or macro photography. This is also helpful when you have an evenly lit image but the subject is a lot darker than the back ground.


Wednesday, 10 February 2016

Evaluation


In this assignment i was asked to look at photographic theory and practice, around the theme of culture. First i took look at some photographic techniques and began to research them this was things such as the light meter, aperture, ISO and the shutter speed and how they affected my images by adjusting these elements such as aperture affects the depth of field in the image and how much of the image is in focus. This creates atmosphere to the images they way aperture works is the smaller the number the lager depth of field such as 5.6 would be a wide aperture letting a lot of light in creating a lot of blur in the background of your images. Apertures range from f.5.6 for largest and f.22. ISO is how much light is sensitive to your camera by increasing your iso this will lighten your images but the higher you go more noise will be added to your images making you images look grainy so it is best to have your iso on a low number such as 100. Shutter speed looks at how quickly your shutter opens and closes if you are on a slow shutter speed without a tripod your images will just blur where as with a fast shutter speed you can capture high speed action. I did some practical work on shutter speeds looking at fast and slow, my slow ones were mainly painting with light as i felt these looked so effective. I also looked at how aperture changed the depth of field in my images and how it changed the mood of my images. I then went one to look at different theories such as compositional  elements such as rule of thirds leading lines, perspective and rule of thirds and how these effected the images to. All are the above a really separate things we put together to create good images and are the called "rules of photography" however sometimes the rules can be broken and you can still have some amazing images.


I then began to brain storm some ideas about culture and what came to mind when i thought about culture i did find this difficult as culture and pretty much be related to anything so i became to brainstorm the most distinctive ones like food, languages, religion and fashion i then began to think broader and i came up with subcultures i liked this idea as this could link in with society. I have done research on subcultures in another assignment and found it really interesting. I started to brainstorm different subcultures i could think off such as hippies,punks and mods. I chose to go for punks as it is still a strong subculture in today's society and i think they are very unique and confident individuals. I then started to brain storm different things i could explore like music clothing and hair i then realized i could link them all together. My uncles friend is the lead singer in a punk band called fight back who were performing in Derby. I thought this would be a really good place to take some images as there were a few punk bands.

I then went on to look at some photographers work who i thought would be inspiring for this kind of photography or photographers who i liked the style of there work.I looked at the work of Diane Arbus i really like the grittiness of her images they were very real and dark. They were mostly portraits who people in society class as odd or unqiue which i feel is the attitude some people have towards punks in today's society.Her images are very high contrast and have amazing detail to them, I also looked at the work of sally Mann this had mixed reviews as some people thought it was offensive as she got her kids to do adult things such as smoking. Her images i find quite flattering even if they have a quirky narrative to them her images are very soft unlike Dianne Arbus. Mostly all of the photographer i looked at were portrait photographers and very quirky i think these were a good choice as they all mostly had a quirky element to them.


To my shoot i took my camera my standard lens and i also took my 70 to 300 ml lens as i thought i may need this. However when i got there the location was really small and was also lit by purple light this made it really hard for me to get my settings right however i just kept trying different settings out till i found the right one the settings i ended up using were f4 1/60 and iso 400 this made my images quite grainy. I ended up just using my standard kit lens as the venue was too small to wear my 70 to 300 ml. The location turned out to be a lot busier than i expected so it was quite hard to move around and get different kind of shots and angles. I got the kind of portraits i wanted though. Some of shots came with a blur as there was a lot of movement. Also the lights kept changing colours which made it difficult to shoot to as sometimes the light was directly behind the subject choosing my images were really hard as i shot over 200 so i had to narrow down bunches a few time till i got the 12 i wanted i chose to print in A4 as i felt this was the right size for portraits as you could see more details. i feel i got my theme across threw my 12 images.

 I learnt a lot from this shoot i do feel like i may have done some more research into event photography and i would maybe look into prime a lens if this was something i wanted to go to into this kind of photography in the future such as a 30mm prime lens good for wide shots to get lots of action in i would also look into ways to cope with different colour light so i maybe my images wouldn't be so grainy because my iso was so high i could of used a flash however i feel it would of been very disruptive. It was really hard the fact i could not edit them in Photoshop as this assignment was doing everything in camera. Overall i am pleased with my final images however i feel they could of been better if i had done some more research into photography and i would consider going into event photography as i did enjoy it but it was a bit of a challenge.

final images


contact sheets.


here are some of my possible images to use for my final shoot the ones i like are circled in orange as I  feel these may be possible contenders in my final images, I need to pick 12 final images for my assignment. In the ones I have chosen I really like the lighting as they are behind the subject. The venue was lit by purple light this made it fairly tricky to shoot as it was very dark in the location. I did try shooting some of the location around me as it was a very atmospheric and had a punk them running threw it which is what I wanted my theme to be threw my images however I felt I wanted to focus more on portraits even though I do like some of the images of the location. The ones with the red crosses next to I don't really feel they would be  right for my final images they ether are way to dark or do not match the theme or appear out of focus or too grainy as the iso was high. I really need to think about what images I need to print which i think would be most successful. There was a lot of blur in my images as there was a lot of movement. I did find choosing my final images a challenge.

Monday, 8 February 2016

Dark field and Light field photography

Dark field photography


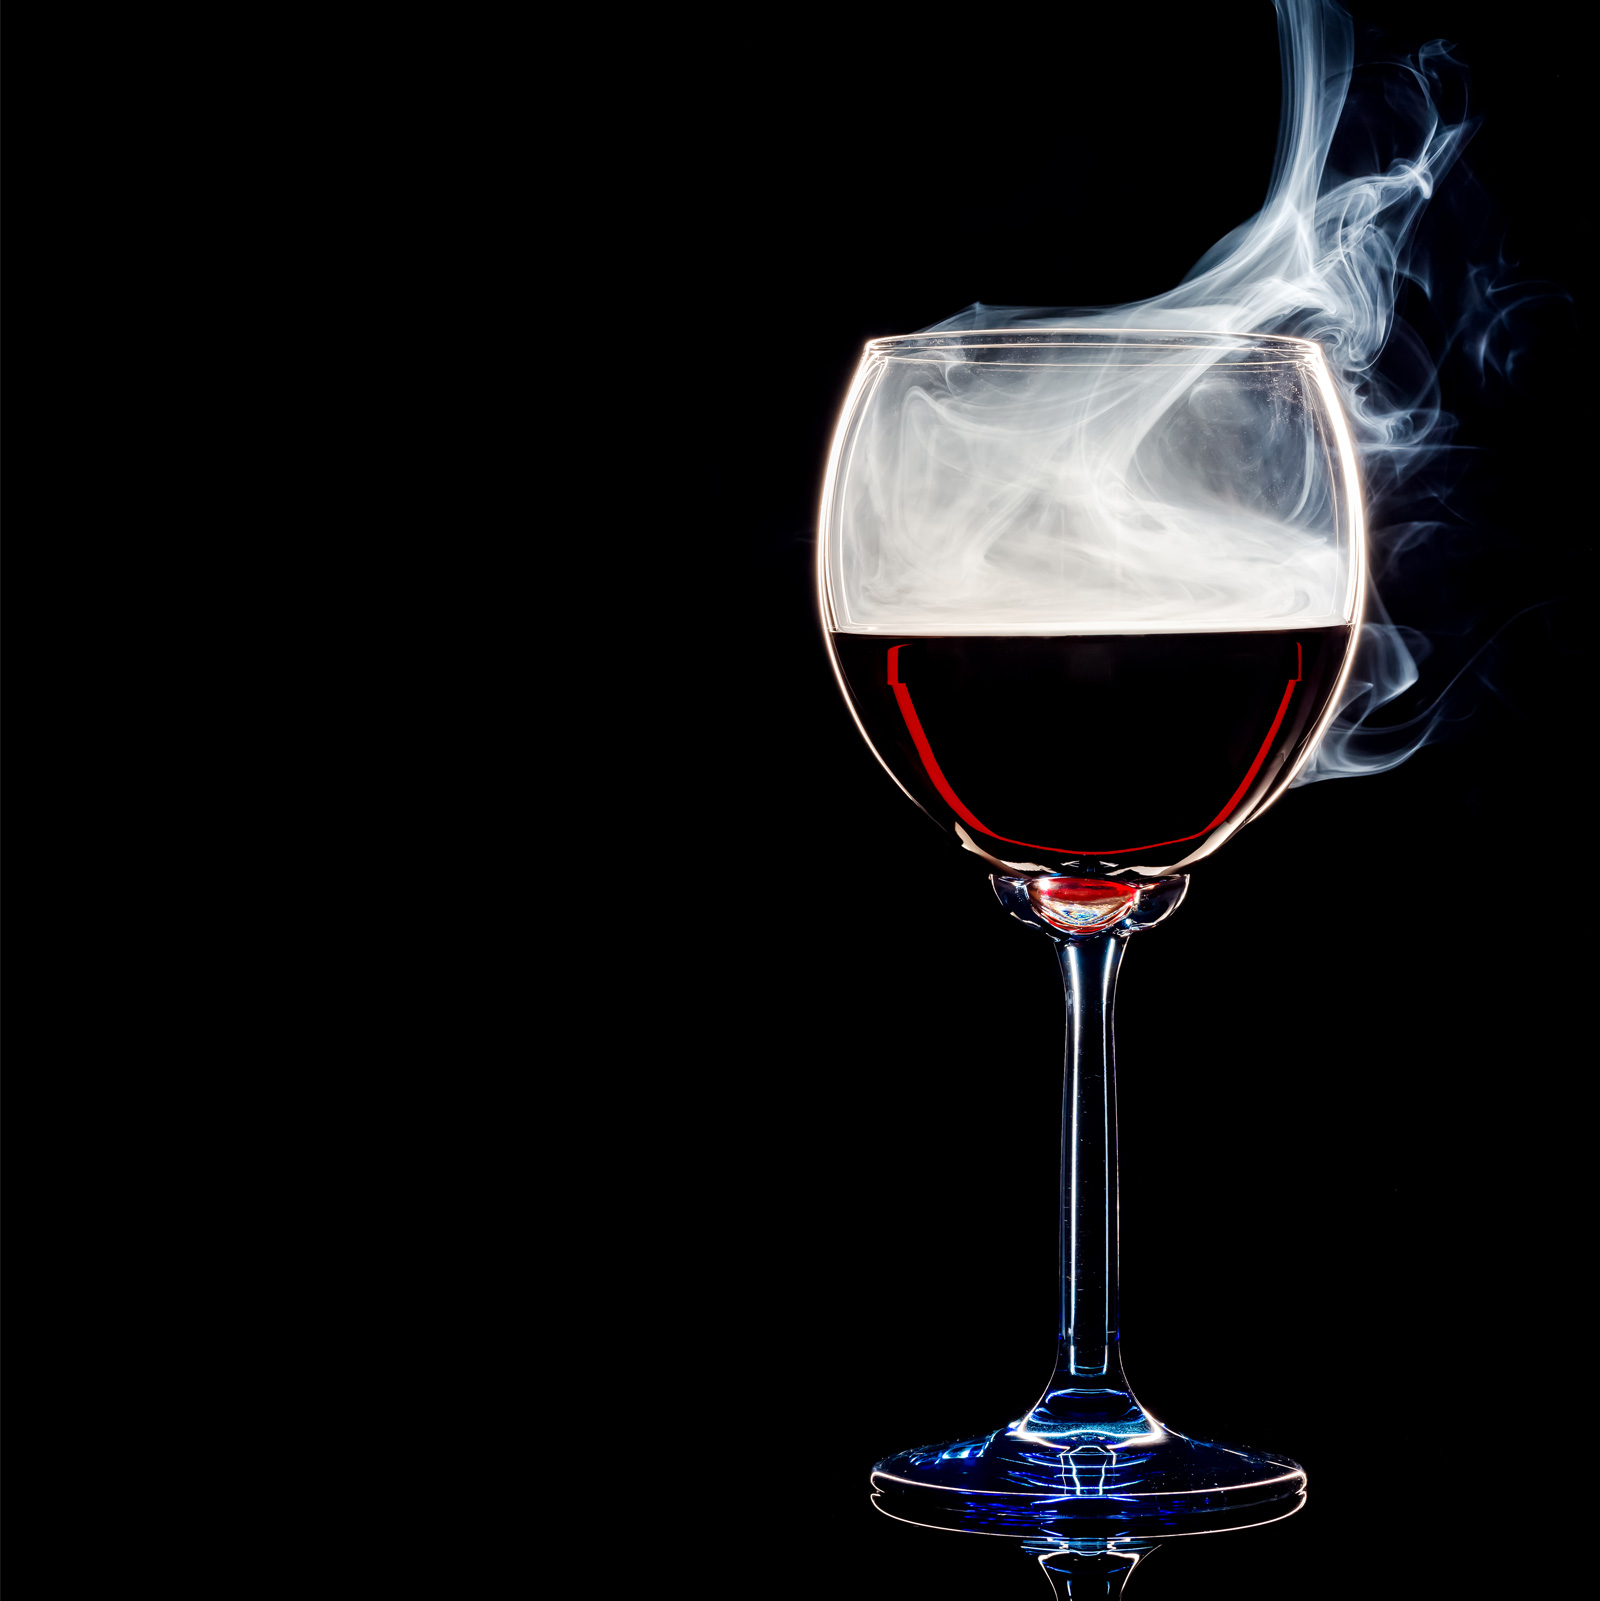
 dark field photography is used for photographing glass and shiny objects that are hard to photograph without getting a reflection in it. I really like the finish of these images as they all look so pure and so clear. They are Crystal clear images they almost don't look real i love the way the light sculpts  the image as it looks very effective.The light reflects off the side of the glass edges why the black card prevents reflection threw the glass it is almost as if you are sculpting the object with light. I like the way you only have to use one light as this makes the method simple yet really effective. For dark field lighting you would place a piece of black card where the white wall is with two gaps in the side so this sends channels of light threw to the object making it almost look sculpted with light.


Light field photography 


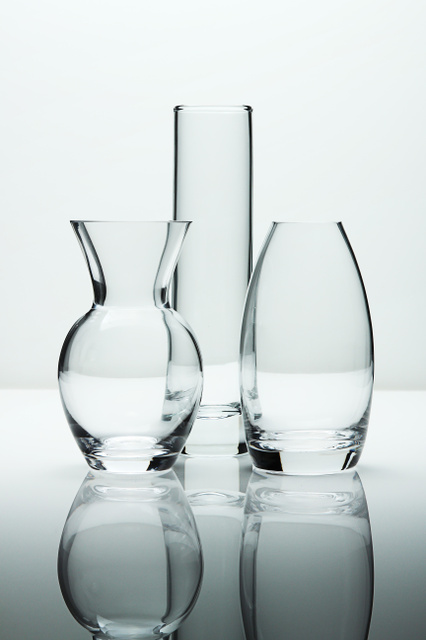
light field is used mainly in product photography for things such as advertising these images are very light and very striking they are made to be eye catching as they are used for advertising. There is only one mainly light used which has a snoot attached so you get direct light onto the back white wall. Again it works really well with reflective objects like glass however in these examples they have used other objects such as jewelry or food. I really like these images i like how bold they are without having to have loads of colour in them they look very professional as images and i love the way they are so easy to do yet they look so professional this just proves you do not need to lots of professional equipment  to creating amazing images.


dark field and light field practice

Light field


Here i looked at creating light field photography after looking at my research i research techniques on how to achieve this look. To start i need a reflective object so i went for glass as this is a  clear reflective object i then set up the studio lights and the rest of the equipment i needed this consisted of one studio light with a snoot attached and two pieces  of black card one each side of the table i then attached the flash kit to the light and my camera and set them on the same channel which was one i  then set my camera settings to iso 100 f5.6 and 1/2 of a second i used a manual focus as i wanted my images to really clear and crisp. I think this shoot was a success as i did get the results i wanted it was fairly easy to do and set up to. I am really pleased with my images as i think they are clear and lit well. I especially like the ones with the clear and pink glass as this adds a burst of colour into the images and give a reflection of pink into the clear glass however i do feel i could of framed them a bit  better as some of them are not as central all framed as well as i would of liked them to be. I also had some of my other images turn out blury because as i was working in the dark it was hard to get the manual focus spot on. however i am really pleased with ones i did. Next time i would frame my images better and take more time with my framing,


I then went onto dark field which was the same set up the only difference was placing a black card where the white back ground was on the light field but leaving two gaps of light so the light channels round the glass almost sculpting the light these were shot with the same settings as the light field. I again had the same problem with someone of them on the manual focusing. I am happy with my images with this practice, they are effective and look really cool, some could of been framed at bit better again. I enjoyed doing the light field images more and do feel they worked better as they look so much more crisp than the others. They really stand out and are striking images i will defiantly use these skills if i even need to do any product photography in the future or if i want experiment with it in the future maybe with portraits,